When you want to improve as an artist, it doesn’t have to involve expensive supplies or years of practice. Honestly, a few simple things can help you elevate your art work.
Here are seven ways you can improve your Zentangle art right now, based on my own personal experience.
1. Slow Down and Be Mindful
Sometimes it’s so easy to just do and not really be present. The Zentangle® Method has really helped me to focus on one thing at a time – I wish that were the case with everything else, believe me! I’ve realised that the slower I draw my lines, the more control I have and the more enjoyment I get out of the process.
I love watching the ink come out of the pen and feel the pen moving across my tile.
Taking my time with each stroke makes Zentangle all the more mindful and enjoyable for me, helping me to relax, slow my heart rate and enjoy the process.
Try it. It’s such an easy thing to do and yet so effective.
2. Experiment With New Tangles
It’s easy to get stuck using the same familiar patterns – we tend to use the ones we like and can draw easily, don’t we? But trying a new tangle can spark creativity and freshen things up for you. Pick one you’ve never drawn before and let it surprise you.
One thing I do that you might like to try yourself is to take note of any tangles you like the look of (Pinterest is amazing for inspiration!) and create a Legend with that list of tangles.
A what, you might be thinking? Simply put, a Legend is a collection of curated tangles. Each tangle is given a number which corresponds to numbers on a die. Some early Zentangle kits included an icosahedron – a die with 20 sides.
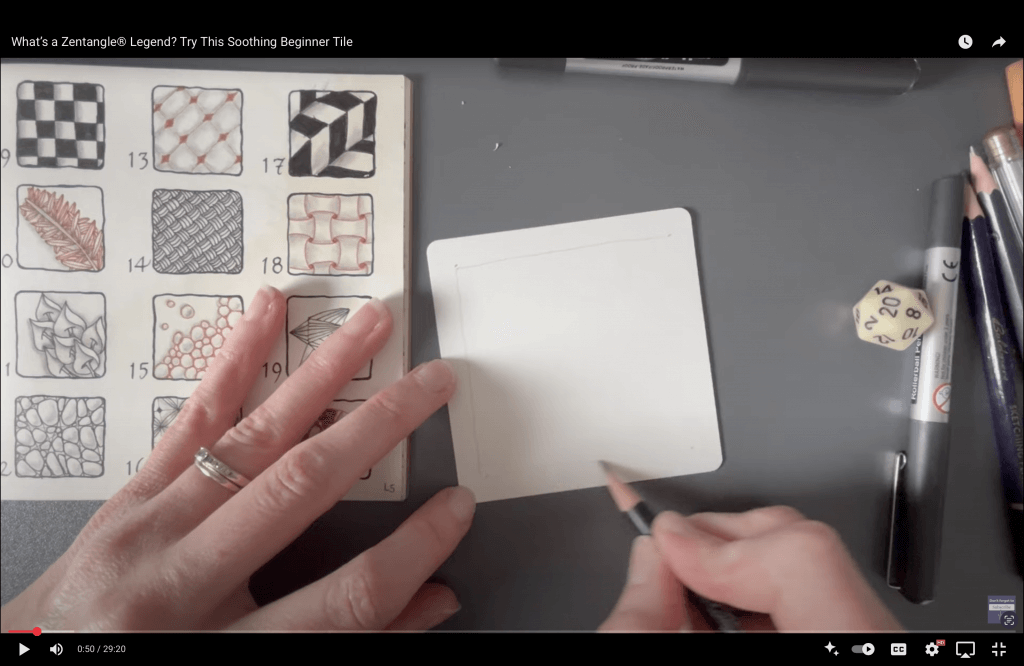
Create a string on your tile then use the icosahedron to randomly fill in the spaces you’ve created. If you don’t have an icosahedron, you can find some random number generators on the internet, or just pick them yourself at random.
This is a great exercise to tangle in a slightly different way and not keep using the same patterns all the time.
If you’d like to see this in practice, have a look at my YouTube tutorial where I used a legend to create a tile. Zentangle Inc also had a project pack – Project Pack 10 – which included a little booklet allowing people to come up with their own Legends.
It’s one of my favourite Project Packs, and it’s well worth a look. And if you don’t have the actual kits, you can work along with what you have at home.
3. Use A Variety Of Pen Sizes
This one sounds really simple but, honestly, you might be surprised how just changing pen sizes in the same piece can instantly create more interest and depth. A bold outline next to fine details makes your artwork more dynamic and gives your eye more to explore.
You can use a very thin pen for more detailed areas of your tile and a Micron 08 or 10 can really just make everything pop.
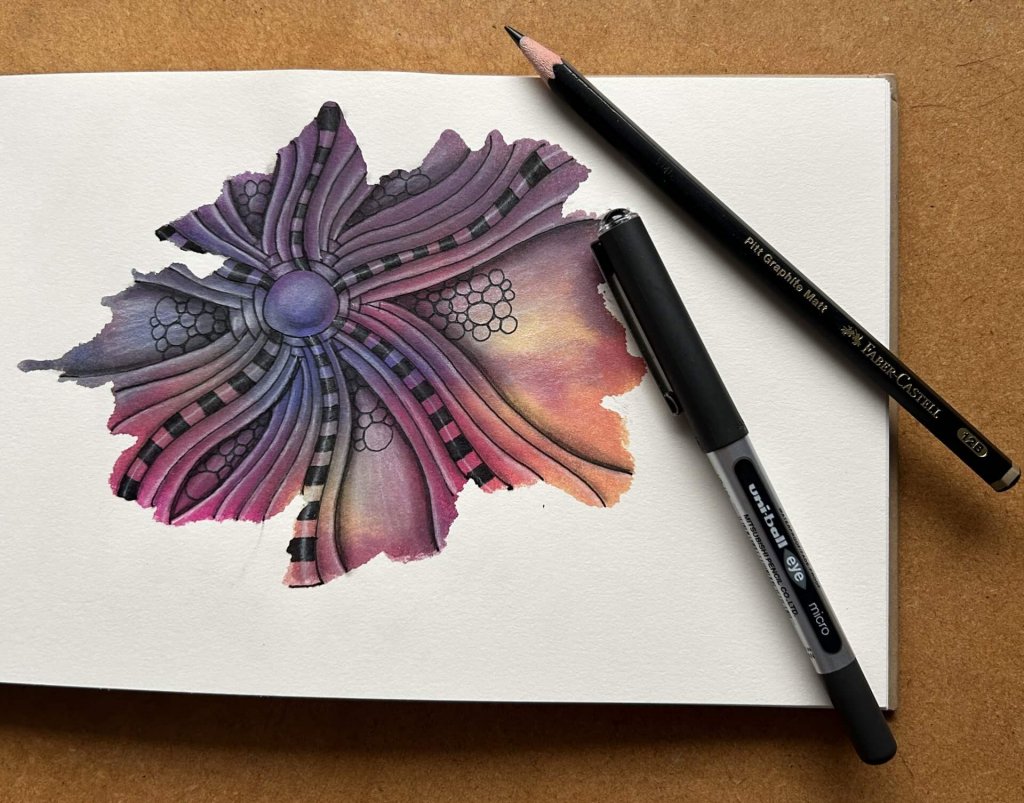
4. Incorporate Shading For Dimension
I know, I know. Some people can feel completely and utterly intimidated with shading but shading can completely transform a flat drawing into something that looks so much more complex.
A little touch of graphite pencil – a simple HB, nothing fancy – gently blended, brings tangles to life by making them three-dimensional and adds drama to your work.
5. Play With Colour
Although early Zentangle tiles were traditionally completed using black ink on white, adding colour can be a lot of fun. Take it from someone who’s used colouring pencils, pastel pencils, gelly roll pens, watercolour paint, watercolour pencils, gouache paint and perhaps other things I’m forgetting. It’s really easy to get obsessed with one medium and then find that leads to something else and then onto another thing after that one.
Try coloured tiles, gel pens, or even watercolour washes. Colour adds emotion and mood – and it’s a fun way to experiment. Even if you don’t feel very adventurous, simple changing the colour of the pen you’re tangling with changes the whole look of your tile.
It was a game changer
In my earlier days of adding colour to my tangles, I found it to be a bit of a steep learning curve, though it could be different for you, of course.
I would watch countless videos about how to blend colouring pencils using all kinds of techniques from using alcohol blender pens, burnishing pencils and blender pencils. I’ve also tried dipping my blending stump in odourless paint thinner.
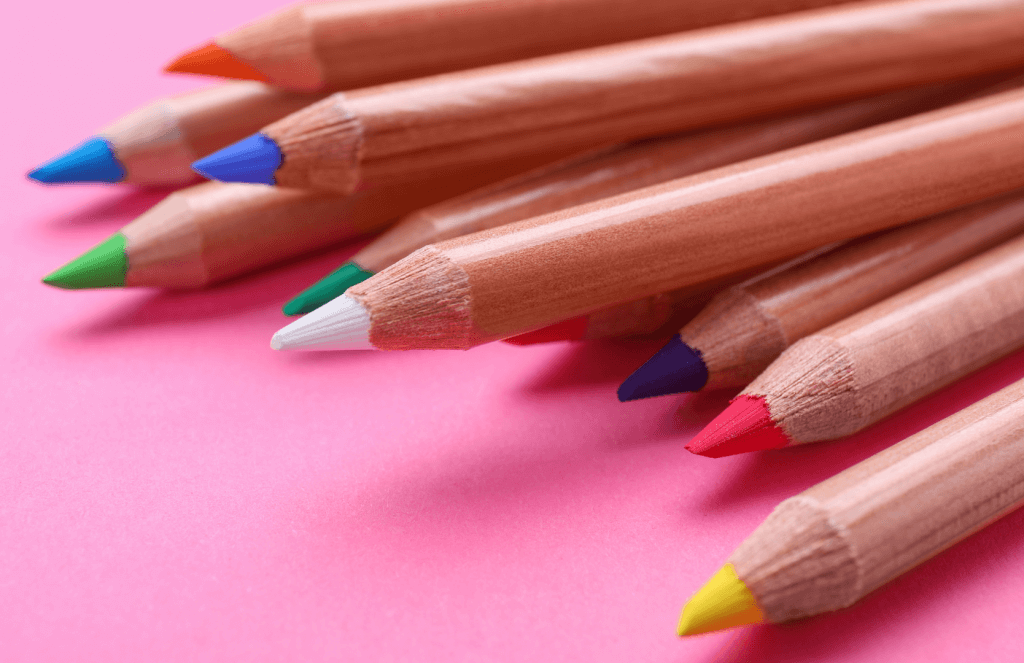
I felt it was a game changer when I discovered pastel pencils. Where had these amazing things been all my life?!?
They’re so easy – and fun – to blend and I love working with them. With that said, I now love to use colouring pencils – especially when it comes to adding zen gems to my projects. They are soo much fun to create. I teach how to create zen gems in this video here. To be honest, all it takes is a little bit of practice.
The more that you play with different tools, you get a feel for what you want to play with a little bit more and what you know you really won’t enjoy. If you don’t enjoy something, you don’t have to keep going with it. Creating art is supposed to be fun.
You might like to try map tangling
I have played with using watercolour in several different ways – from watercolour pencils – hello, lovely Inktense pencils! – to liquid watercolour, palettes and tubes.
Using watercolour can be a fun way to add a splash of colour to tangles you’ve already drawn, and you might like to try map tangling. I have a whole other blog post talking you through how to create a map tangling project. It involves creating colourful watercolour shapes on your paper, which start to resemble countries or continents.
Let the paint dry and then the idea is to tangle only on the surface that has been stained with colour. Leave the surrounding areas alone. It’s a really fun way to tangle. Warning: map tangling rabbit hole ahead!
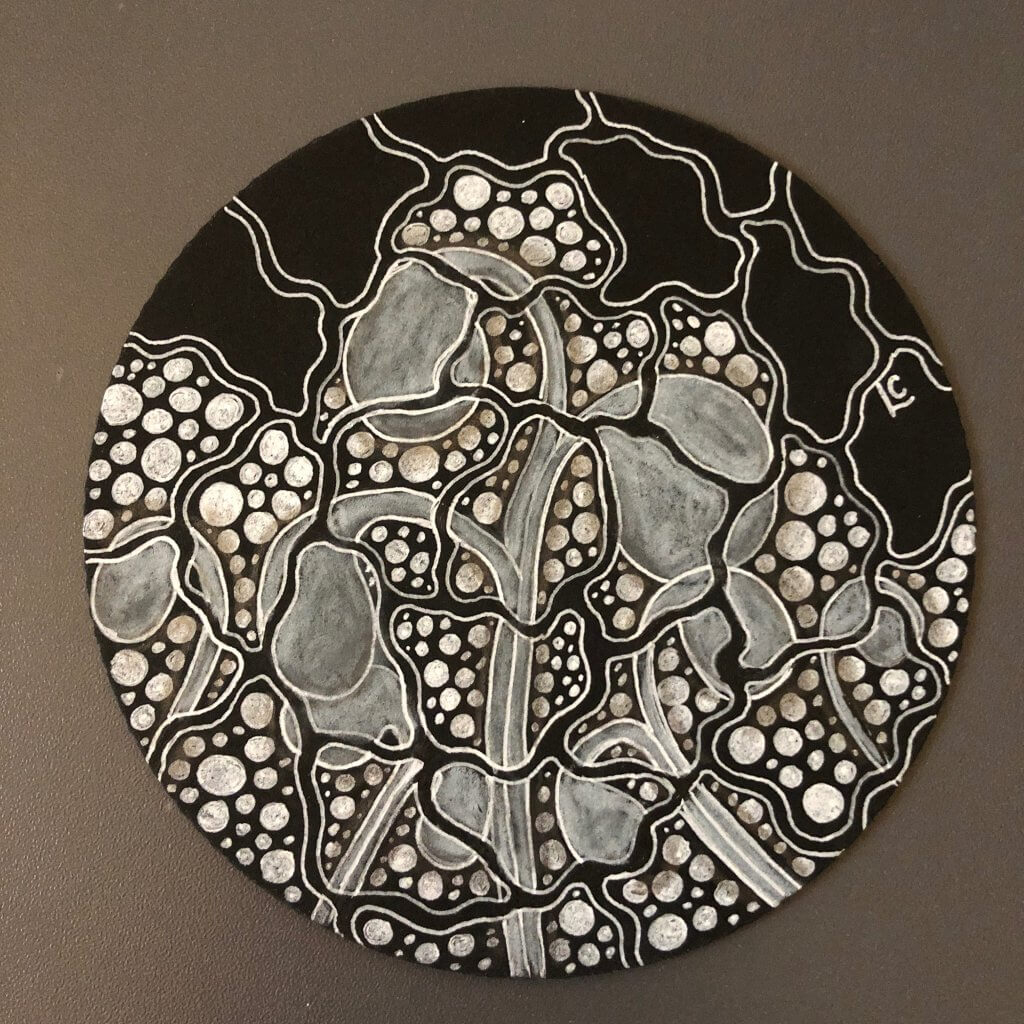
6. Add Highlights
My absolute favourite kind of surface to tangle on is tan-toned tiles, followed closely by grey tiles.
That’s because just as shading adds depth, highlights add light. A white gel pen or chalk pencil can bring certain areas forward to the eye, creating contrast and sparkle in your design. It’s a simple thing but it instantly elevates your artwork.
7. Connect With The Zentangle Community
Sharing your work with other tanglers is one of the best ways to improve. The Zentangle community is the best – such a warm, encouraging and inspirational bunch of people. Seeing how others interpret the same patterns can spark new ideas in your own projects.
There are a wide variety of Zentangle communities to join online from my lovely friend Ruby Maguire’s Tangletastic group to the CZT After Hourz group for the teachers who might be in this group. There’s also, of course the Zentangle Mosaic app, which is brilliant for inspiration as well. I’m an Apple user but, as far as I’m aware, it’s available on Android as well and it’s very inexpensive – just a couple of pounds each month.
Next Steps
Improving your art doesn’t mean learning something new. Far from it! It can be as simple as slowing everything down and paying close attention to your strokes, picking up a new pen or just trying a tangle you’ve never drawn before.
If you’d like inspiration and step-by-step tutorials, join me on YouTube, where I share daily tangles this October for Inktober Tangles – a perfect chance to put these tips into practice.
I also have a free ebook you can download to learn more about The Zentangle® Method and create your first tile, and a Zentangle-themed gratitude journal, both of which can be downloaded at this link.